# Introduction to Credit Notes
The Credit Note App can be used to create Credit Notes in the DX2 Portal.
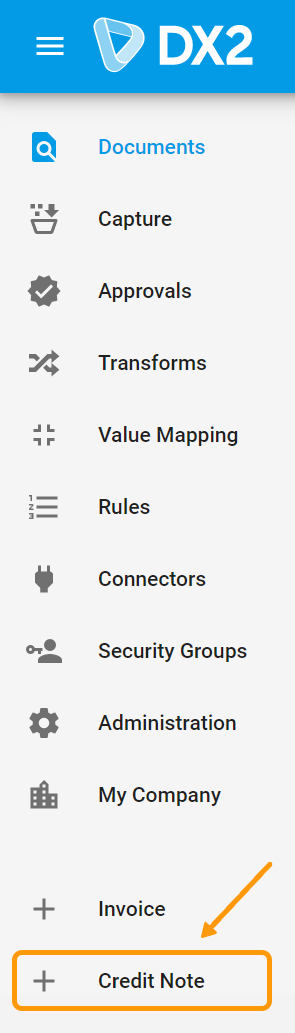
To get started, select Credit Note from the side navigation bar:
This will open the Credit Note App using your DX2 portal login. You do not need to login again in the Credit Note App.
TIP
The Credit Notes App can be accessed directly using the URL: apps.dx2.com. If you are not already logged into the DX2 Portal, the login credentials will have to be entered.
# Creating a Credit Note
Credit Notes can be created based on an existing invoice in the DX2 Portal or via manual entry.
# Based on Existing Invoice
Click on the Load Existing Invoice button to start creating a Credit Note based on an invoice which exists in the DX2 Portal.
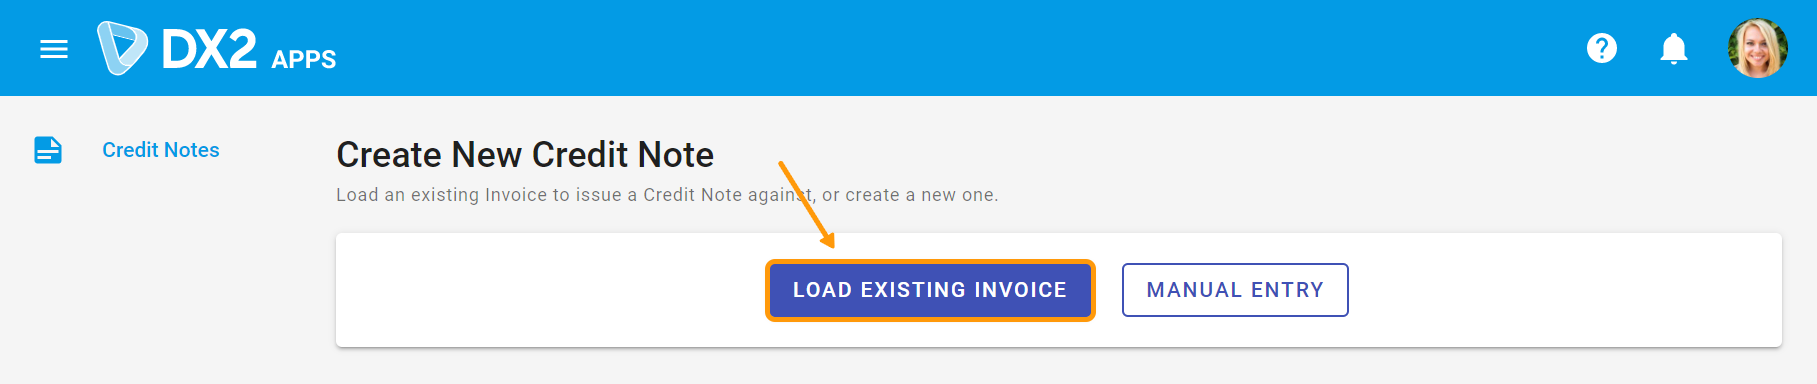
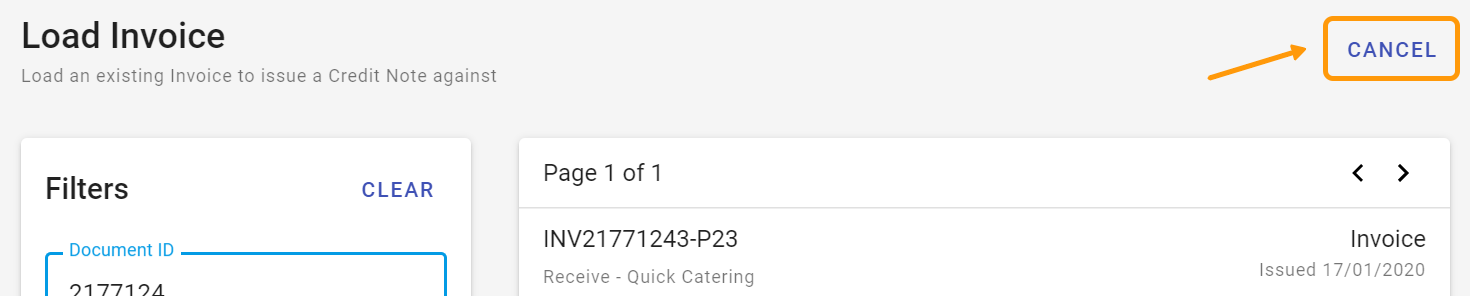
This option will bring up the Load Invoice page where you can select an invoice from the list.
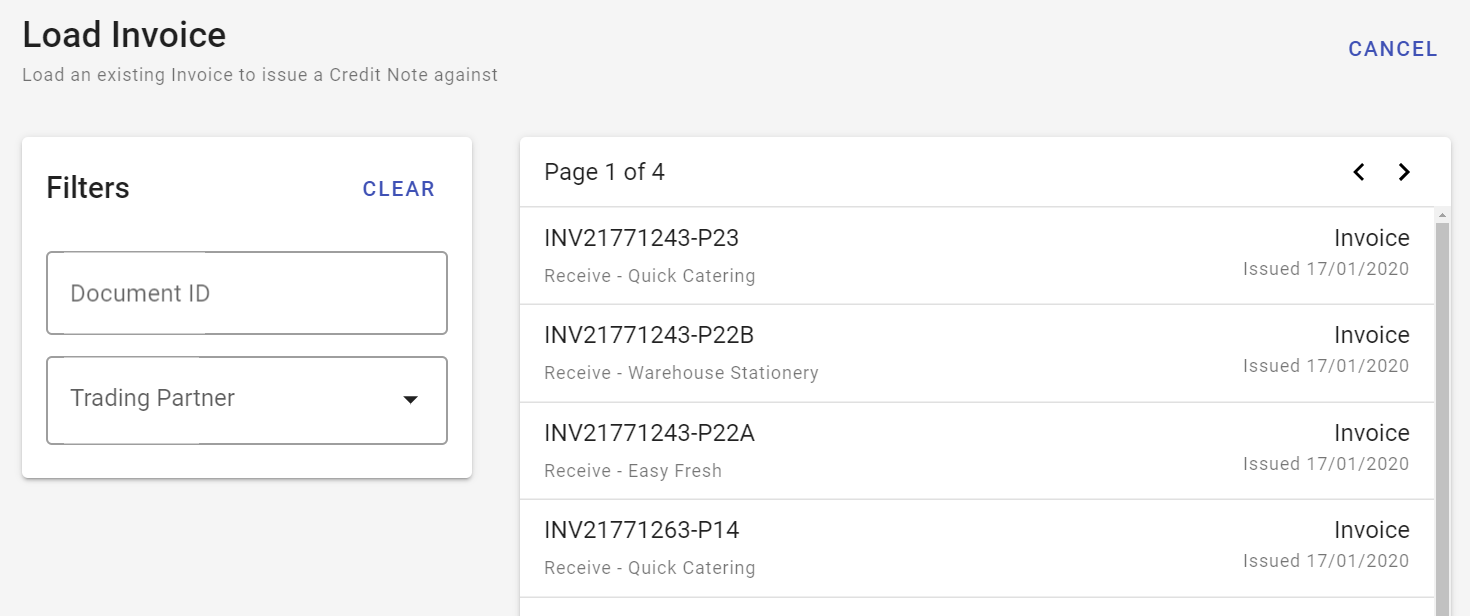
You can filter the list based on the invoice number and/or the Trading Partner. If a filter is used, the list will show only documents that fit the filter(s) applied.
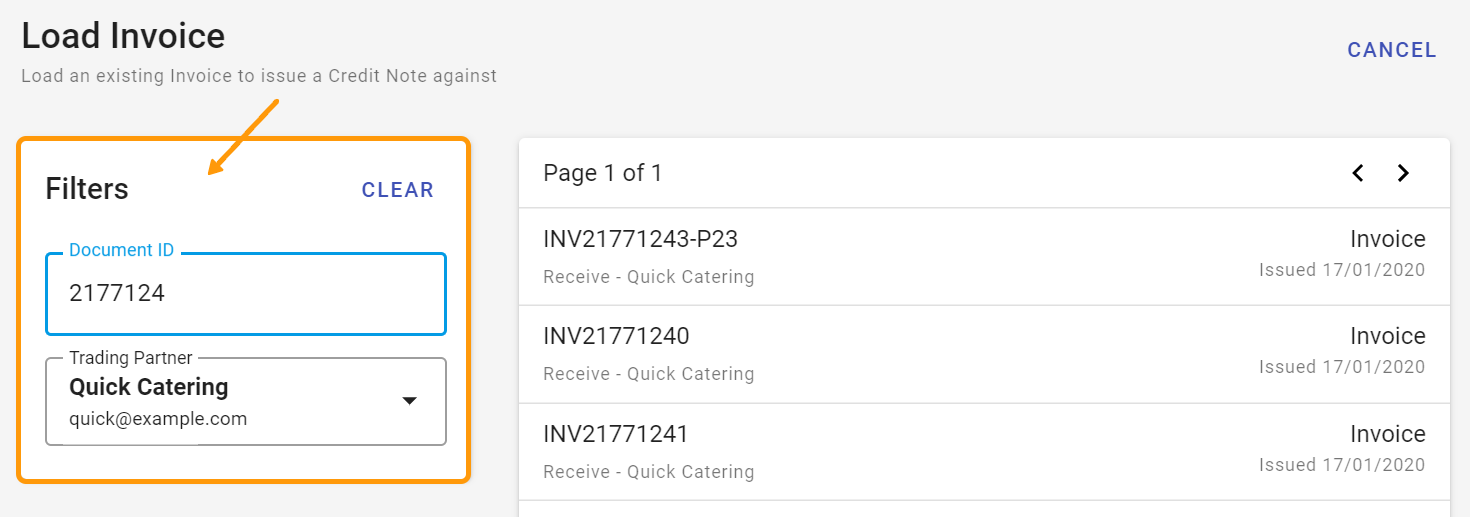
Filters can be removed at any time by clicking on CLEAR

The Credit Note creation process can be stopped any time by clicking on Cancel on the page.
To proceed with the creation of a Credit Note, select an invoice from the list. This will open the Create New Credit Note page which will be populated with the details copied from the selected invoice. These details can be modified if required. You must enter a Document number here.
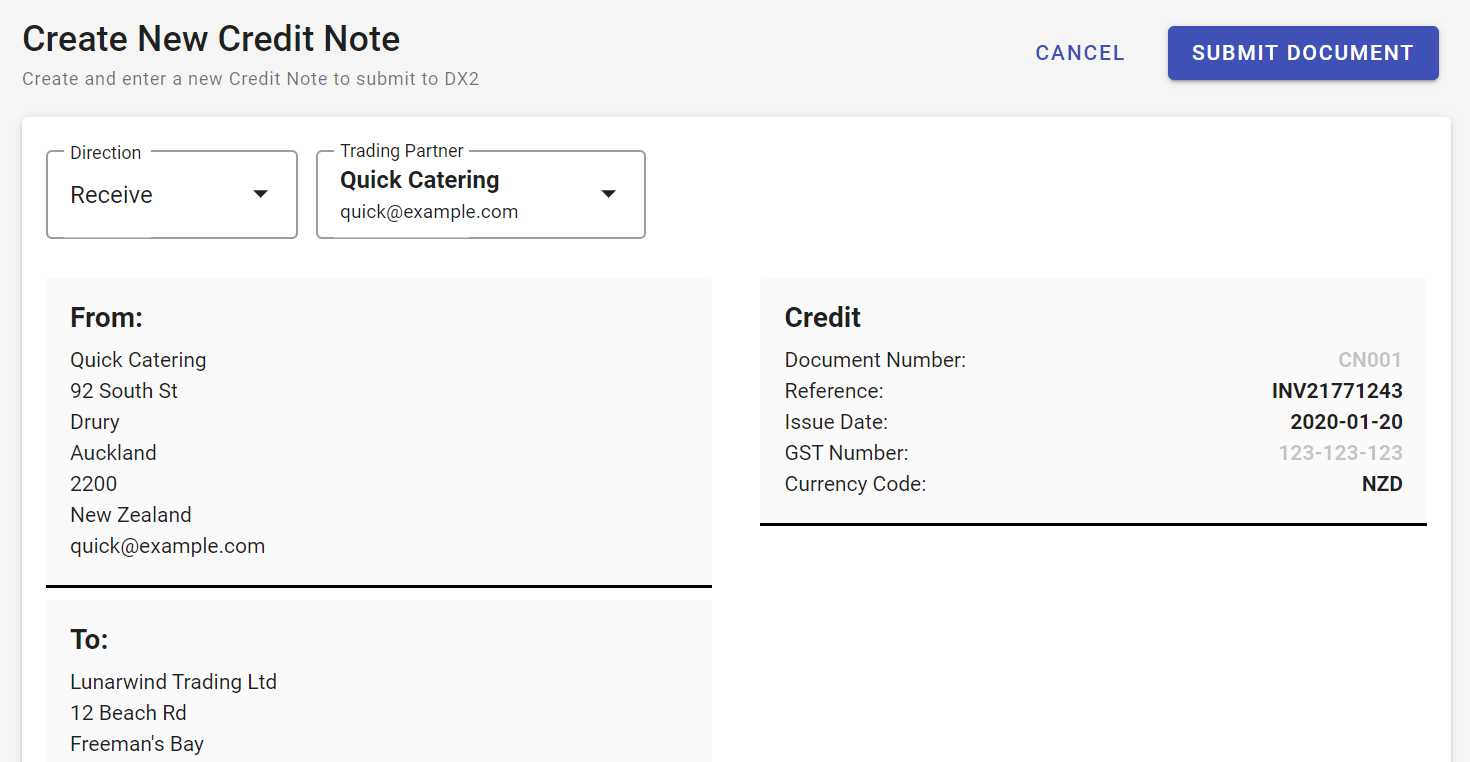
The Document direction will always default to Receive as the Credit Note is being created on behalf of a Trading Partner.
By default, the Trading Partner will be displayed from the invoice selected earlier.
Editable sections of the Credit Note will be shown in grey boxes. Click on an editable section to enter or modify information in that section.
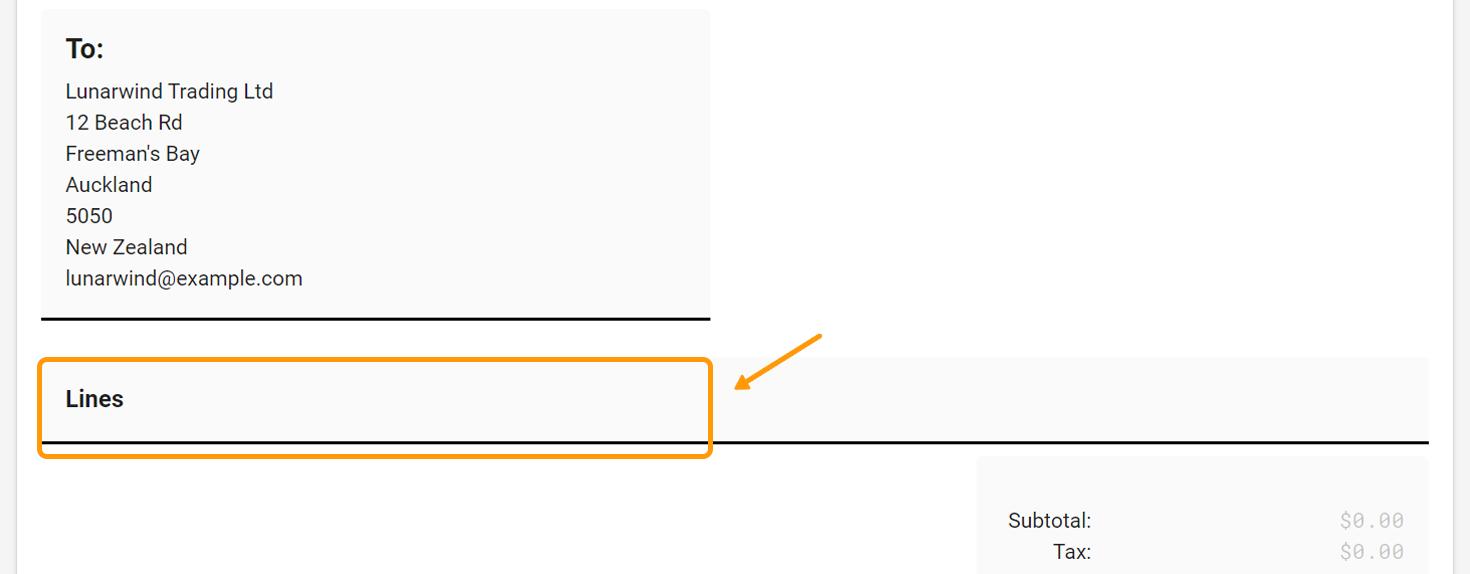
To modify the Credit Note Lines, click into the Lines section and then in the credit lines edit window. Existing lines can be modified or removed from here and new lines added.
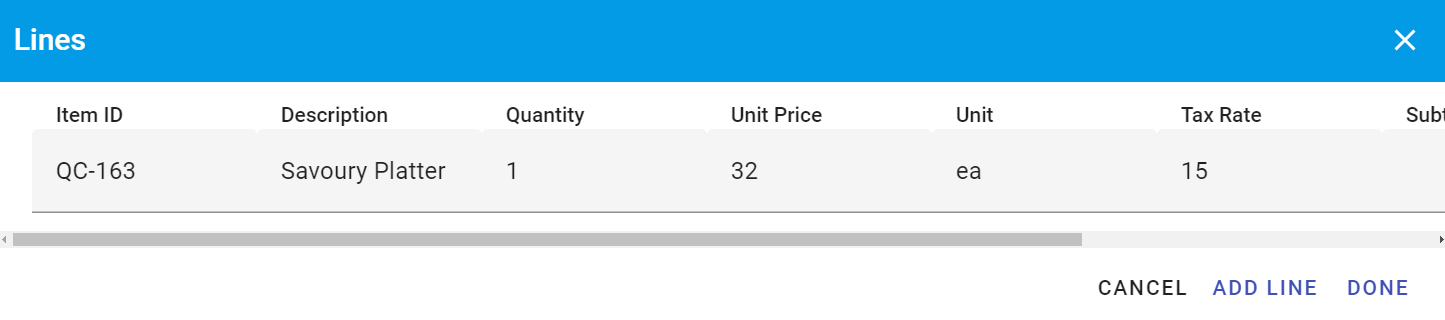
Credit lines edit window
TIP
It is a mandatory to have at least one line populated for the Credit Note. The document cannot be submitted if this requirement is not met.
Document Totals
The subtotal will be pre-populated with the existing Invoice amounts here, but can be modified.
Click into the Totals section of the template, to display the Totals window:

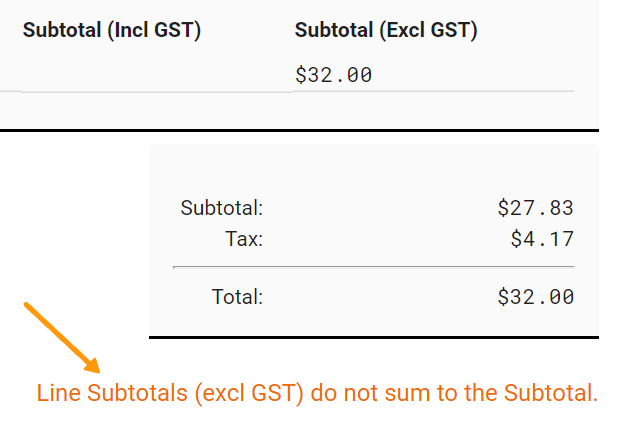
WARNING
A warning message is displayed if the Credit Note subtotal does not match the total of the line level subtotal (Excl Tax).
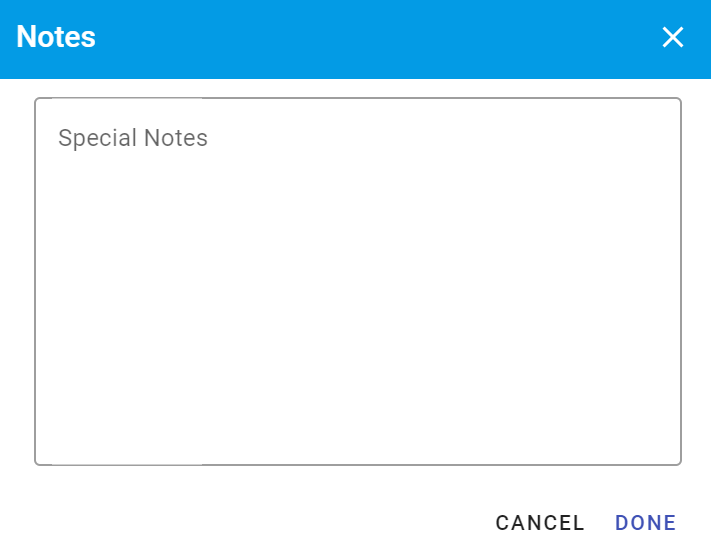
Notes
If required, you can add notes to the Document.
Submit the Credit Note to the DX2 Portal by clicking on the Submit Document button.

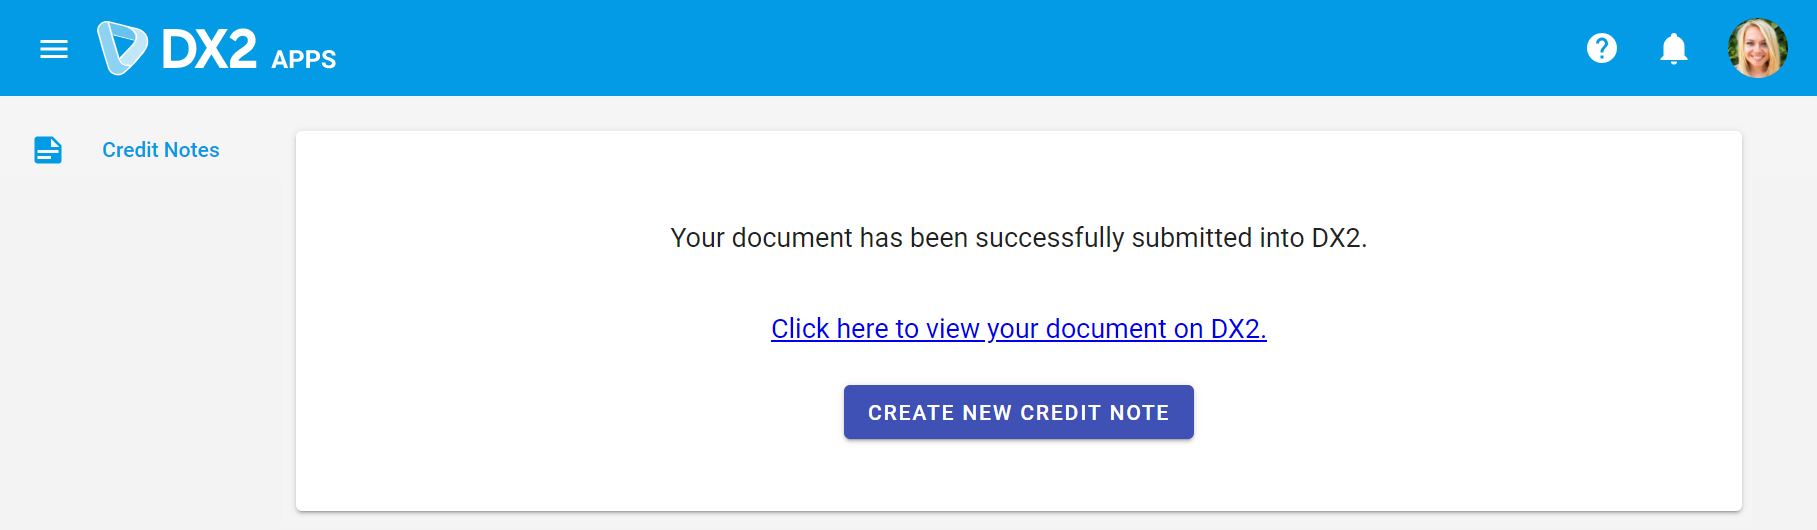
On successfully submitting the Credit Note into the DX2 Portal, you can view the document in the DX2 Portal or start creating a new Credit Note.
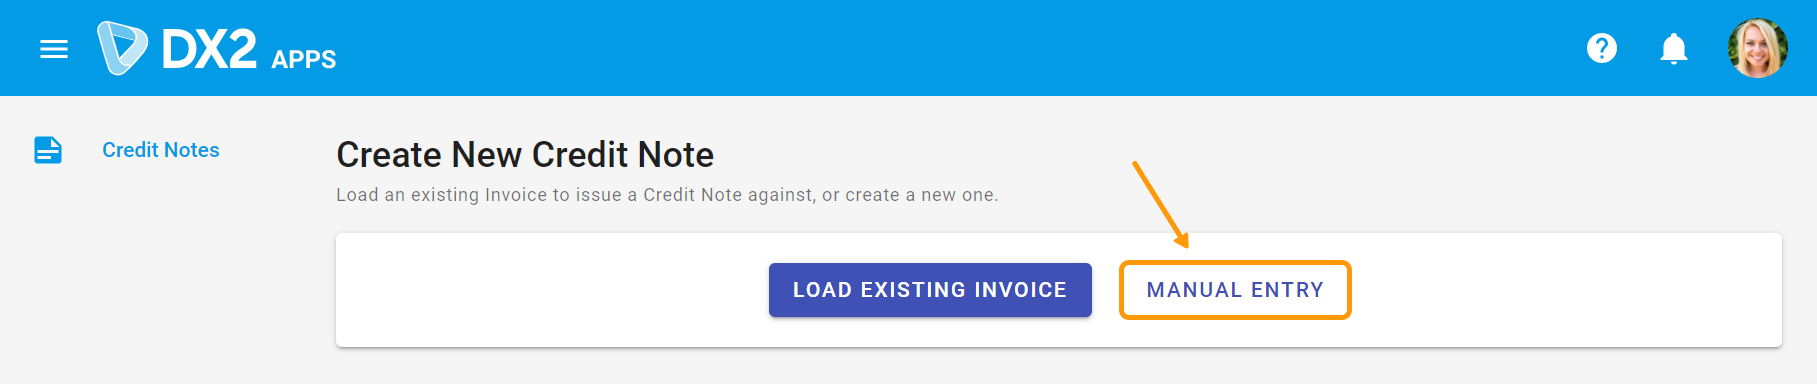
# Manual Entry
To begin creating a Credit Note using this option, click on the Manual Entry button.
If you are entering a Credit Note received from a Trading Partner, the direction will be Receive.

Select an existing Trading Partner from the drop down list.

TIP
Although the document direction and the Trading Partner can be selected after entering the document details, it is better to select them first as the From details will populate from the Trading Partner selected.
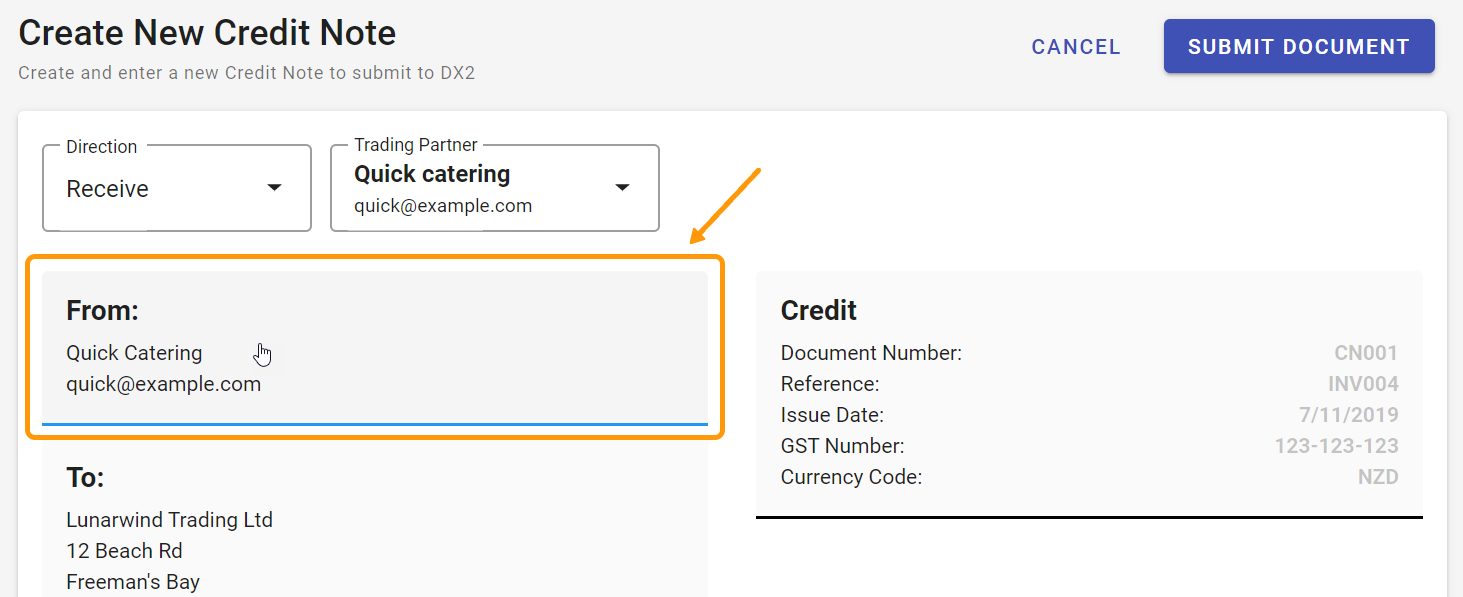
Editable sections of your Credit Note will be shown in grey boxes. Click on an editable section to start entering information into that section.
The From information will default from the address details setup for the Trading Partner where a Trading Partner has been selected. This information can be modified by clicking into the From box:
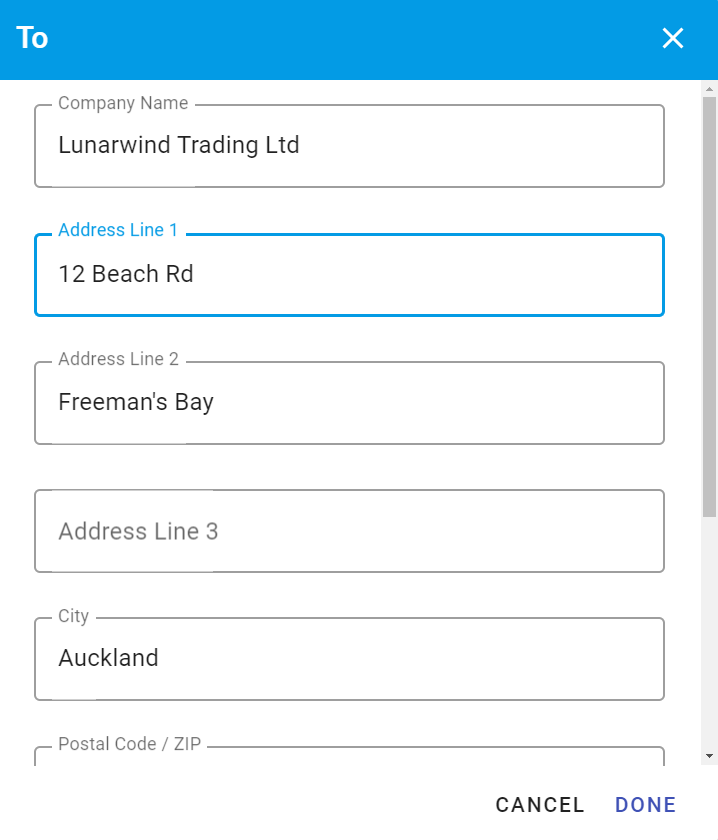
A window will be displayed:

Modify the information as required and click Done to save the changes. These changes will apply only to this document.
Required Fields:
- Company Name
Field Validation: There is no field validation on this window.
Next, click into the To box.
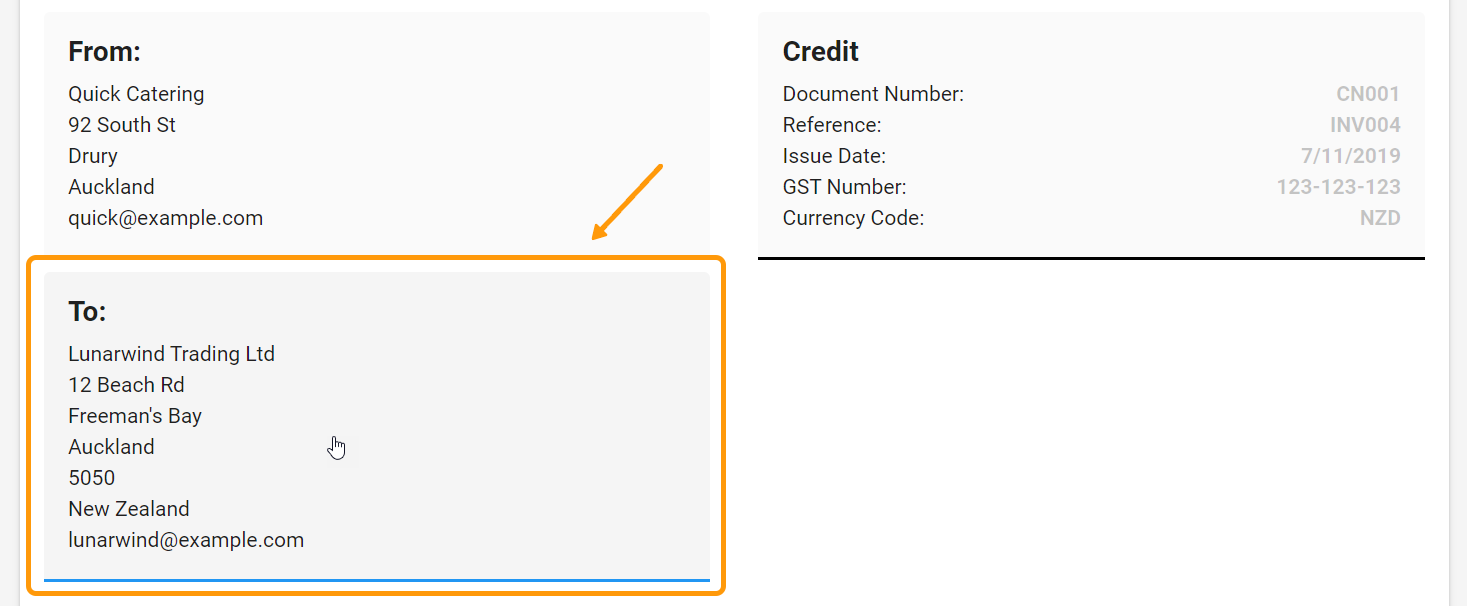
The To information will default from the address details setup for your company. This information can be modified by clicking into the To box to open the edit modal.
Required Fields:
- Company Name
Field Validation: There is no field validation on this window.
Click into the Credit Note box.
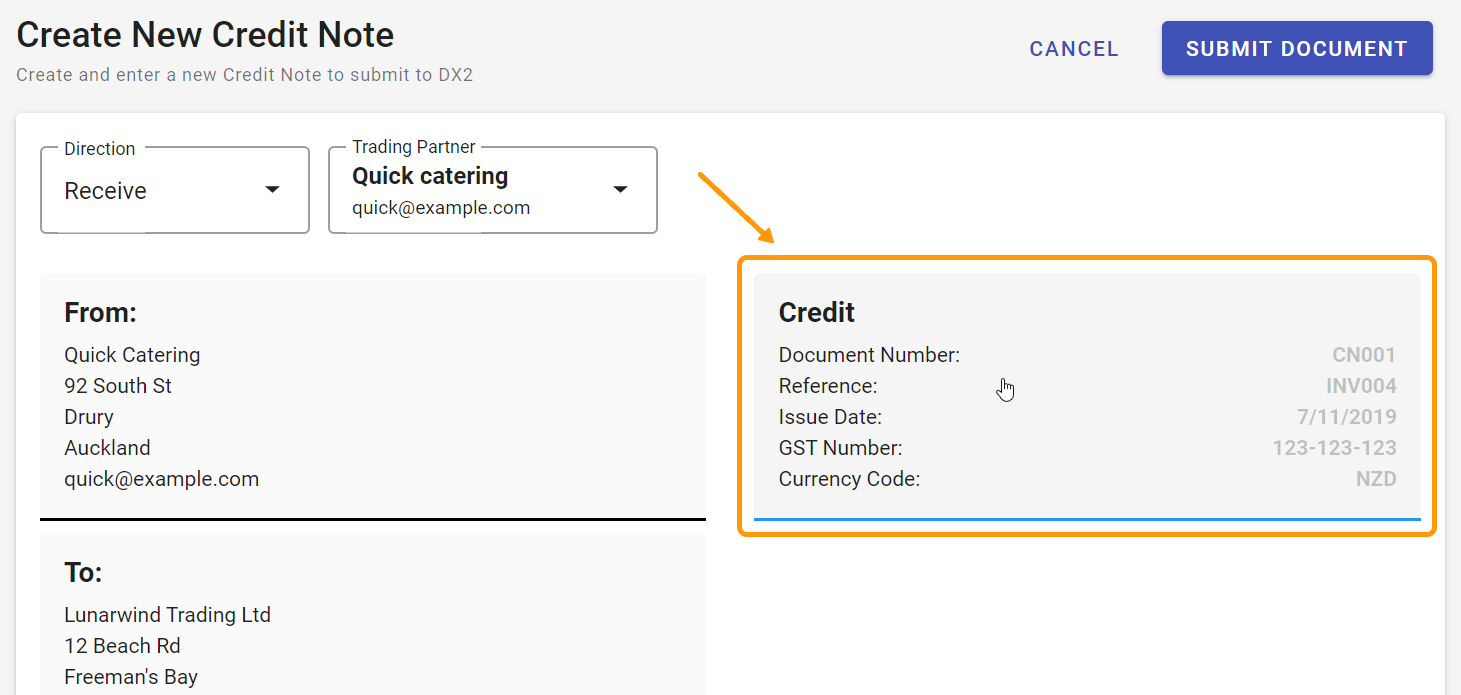
Enter the Document Number. The Document Issue Date will default to the system date. The currency code will default to NZD. These values can be changed by clicking in the Credit Note box to open the edit window.
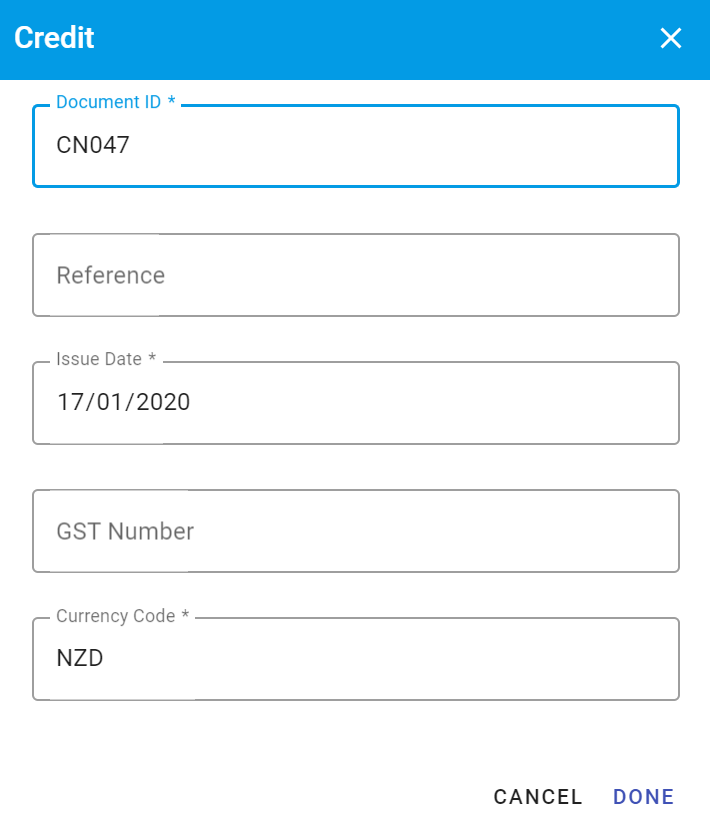
Required Fields:
- Document Number
- Document/Issue Date
- Currency Code
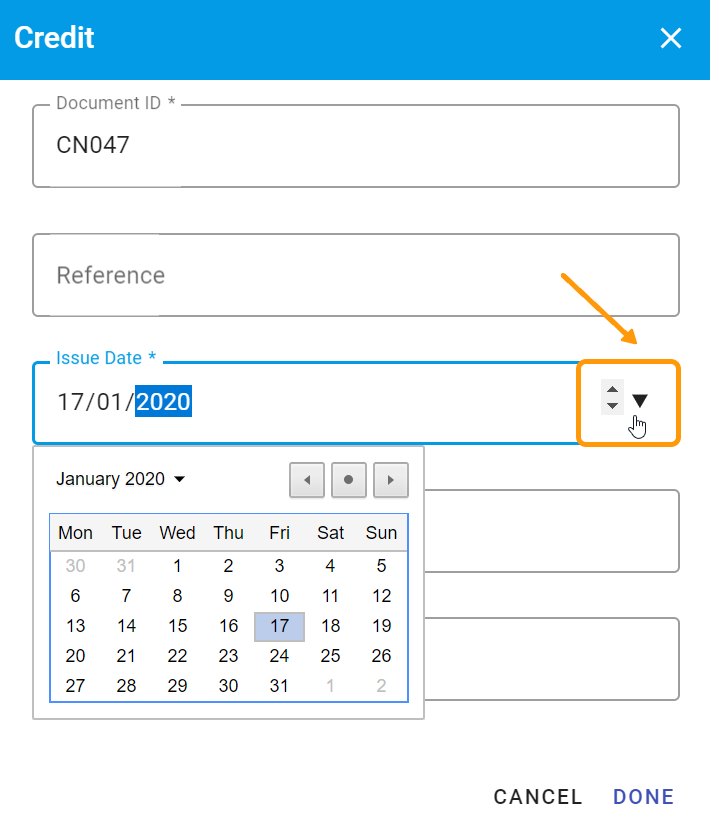
Date Fields: You can select the Issue Date by clicking on the arrow icon in the right side of the field:
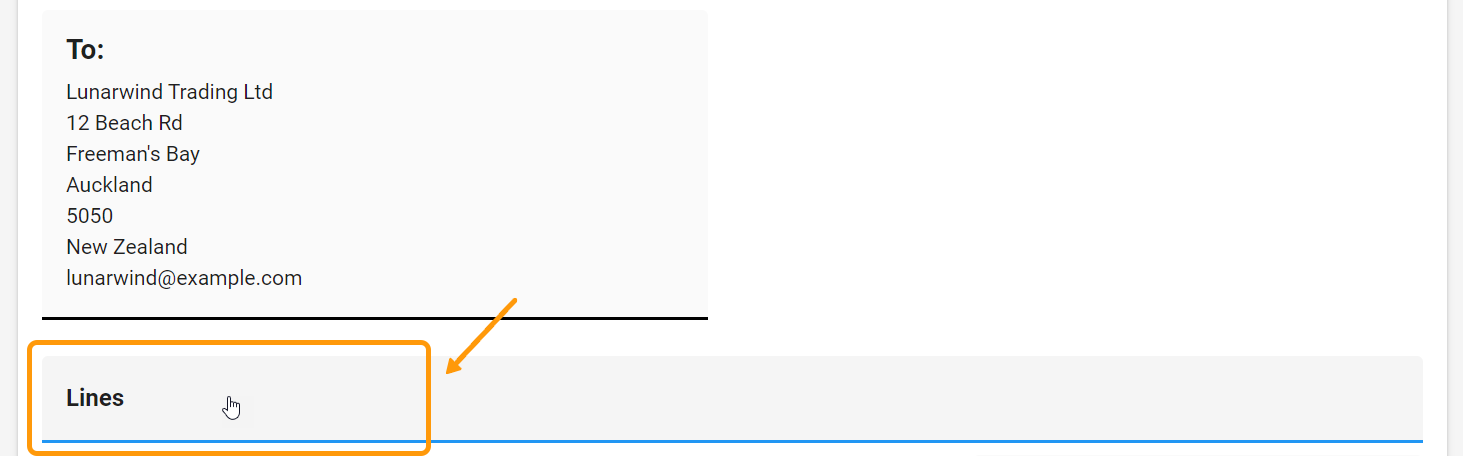
Click in the Lines box to enter the Invoice lines field.
The Invoice Lines window will be displayed. Enter values in the columns displayed. You can click into the next blank line below existing line, and enter the data. Use the tab key to move to the next column.
Field Validation:
There is no field validation on this window.
Document totals
The subtotal can be entered here. Tax will be calculated at the specified percentage if Auto Calculate is enabled.
Click into the Totals section of the template, to display the Totals window:
Enter the amount in the appropriate fields. If Auto Calculate is enabled, Tax Total and Gross Total will be calculated based on the Subtotal (Tax Exclusive) amount.
TIP
Approvals uses the NET – Subtotal (tax exclusive) amount to balance to, this is used to allocate distributions, so this is the most important field to enter correctly.
When you are finished click Done or Cancel to exit out of the window.
Notes
If required, you can enter the information for Notes to add to the Document.
# Submit for Approvals
To submit the document for approval, click on the Submit Document button:
When you click Submit, if an error occurs - a red line will appear under the section that has a problem. In this example, there is an error in the document header section, because it has not been filled out properly and is missing information.
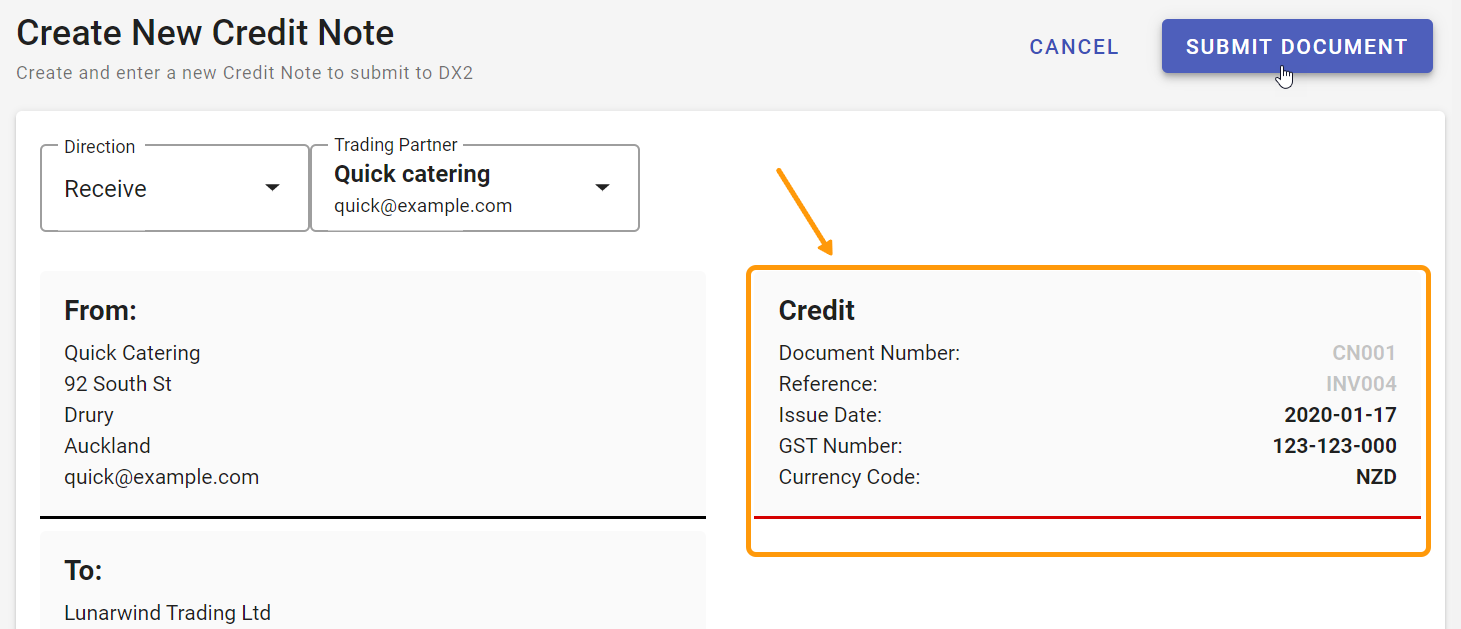
Fix the errors and click Submit Document again.
On successfully submitting the Credit Note into the DX2 Portal, you can view the document in the DX2 Portal or start creating a new Credit Note.
If you require the Credit Note to go through Approvals or submit to an ERP system, then the appropriate Rules and Transform need to be set up. Olympic Software can assist with this.