# Mappings in Capture
To help you teach DX2 Capture how to best read and understand a scanned or sent Document, Capture makes extensive use of mappings. These are highly configurable units of instruction, which can range from "always use the same value of Jane Bloggs", and can be as powerful as "Read lines in an invoice right-aligned in the document starting at position X".

# An Example
To demonstrate how mapping can be used to your advantage in DX2 Capture, we will map the Invoice from Rolling Hills Supply Co. which was sent to our company, Farm Central Ltd. We are mapping a one-page document with one invoice line per product.
Capture the Invoice Header fields from the Invoice, starting with the Supplier information.
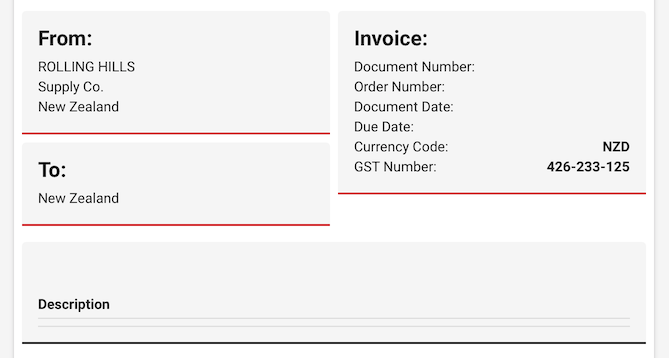
Click into the From box:
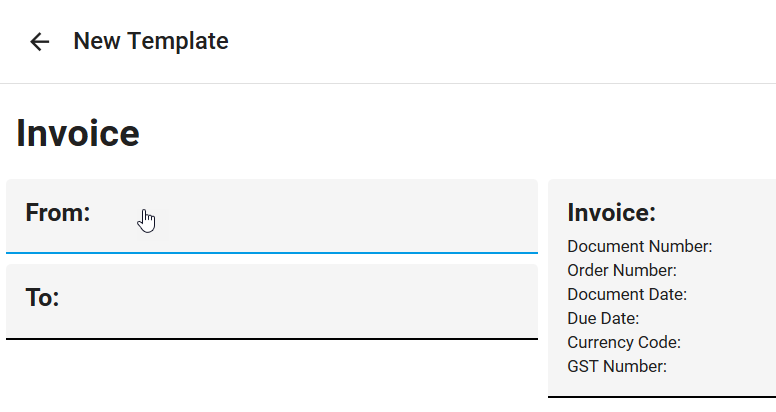
A window will be displayed:
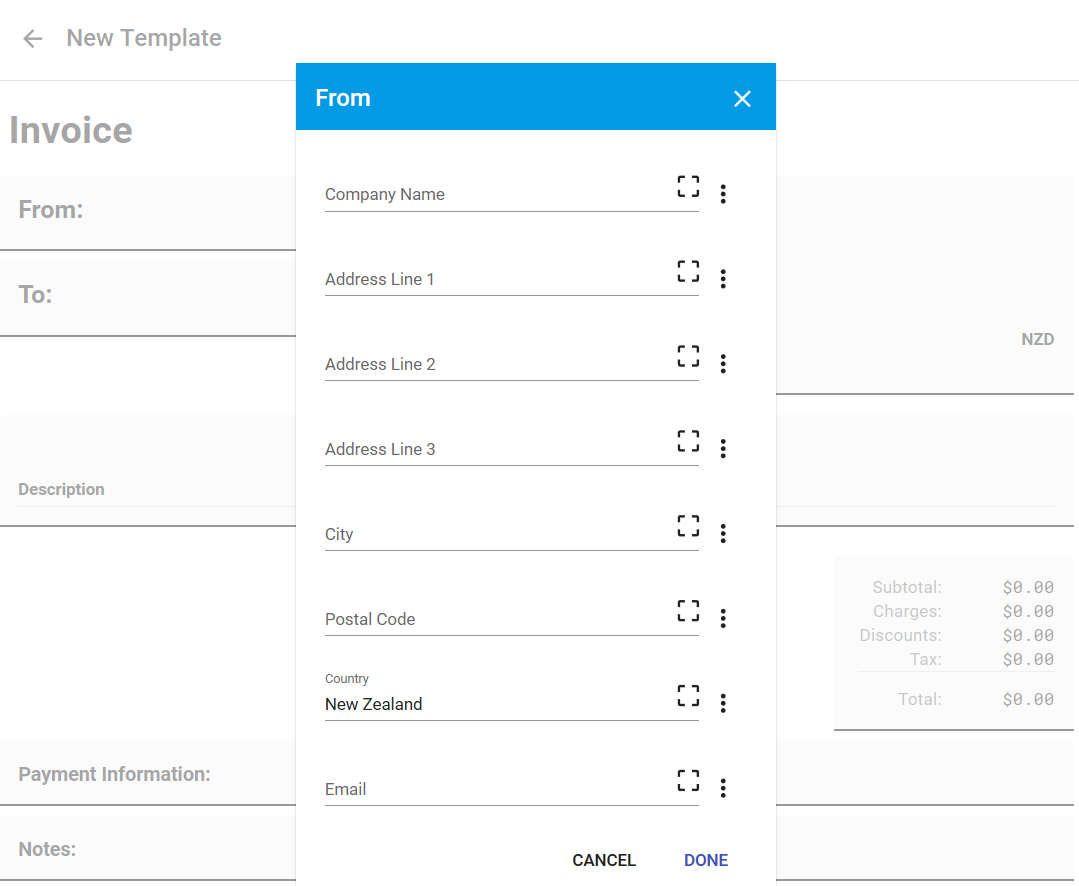
Click on the Capture tool in the box, then click and drag the mouse over each field you want to record form the left side of the screen.
In this example, you can select the company name Rolling Hills Supply Co. from the Invoice data by:
- Clicking on the Capture icon , on the right side of the Company Name field
- Dragging over the company name field on the left side Invoice
You will see this data has been populated into the Company Name field. Continue this process for every Document Header field you want to capture.
Required Fields:
- Company Name
- Address Line 1
- Address Line 2
- City
- Country
Field Validation: There is no field validation on this window
In this Invoice example, the country name is not on the Invoice, so you get an error message This field is required, as there is no Invoice data to use to map.
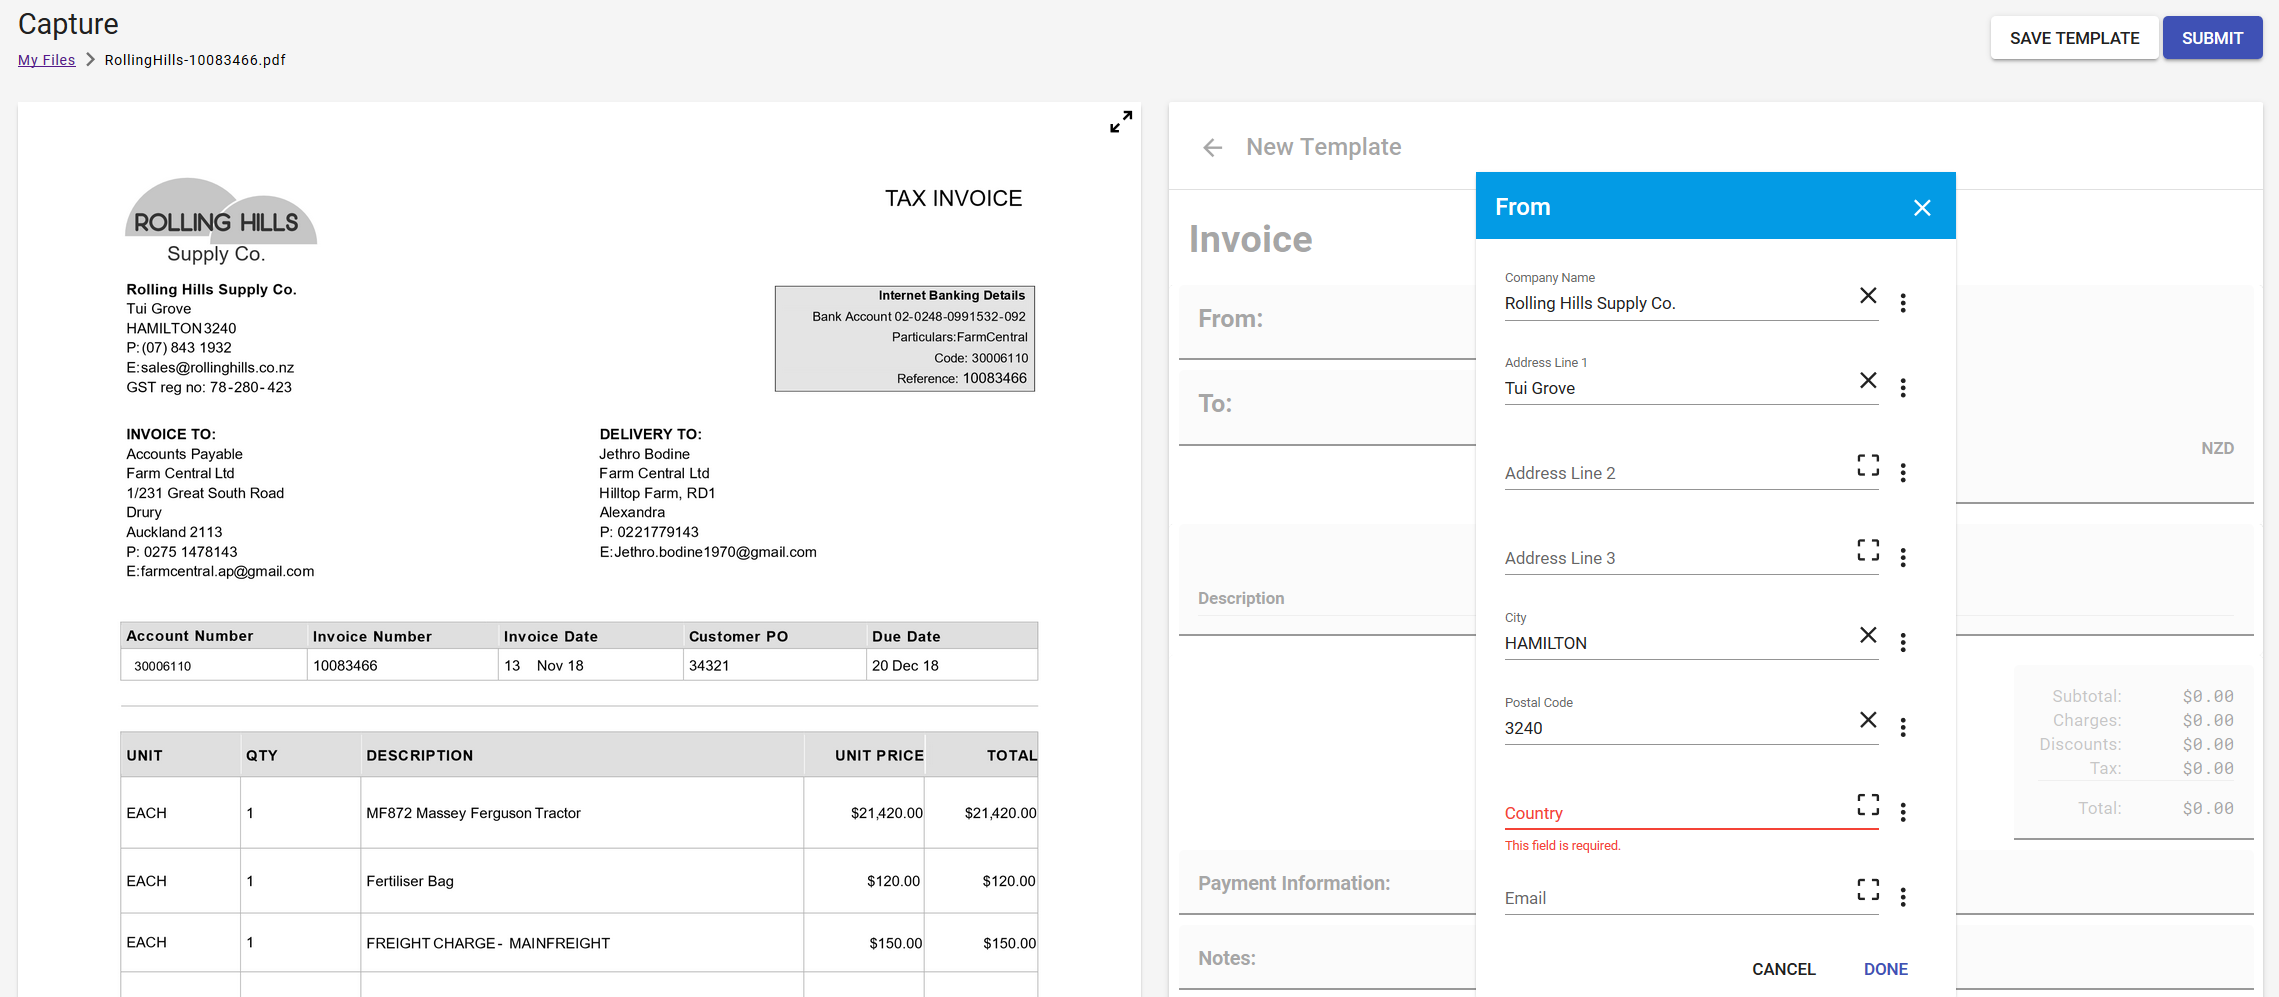
On the right side of the From window fields, click the icon. This will show two options: Relative To and Map by Value.
Relative To is the default setting for mapping the field. This means we will always map this field from one place on the document page. For example, the subtotal field will always be in this position relative to the end of the table (perhaps 5 lines down).
Map By - Coordinate means this field is always to retrieved from the same place on the document.
Map By - Value means that it will hold a specific value each time you use the template. For this example, when you enter New Zealand, the Country will be populated with New Zealand every time this template is used.
Click Done.
Click in the To box.
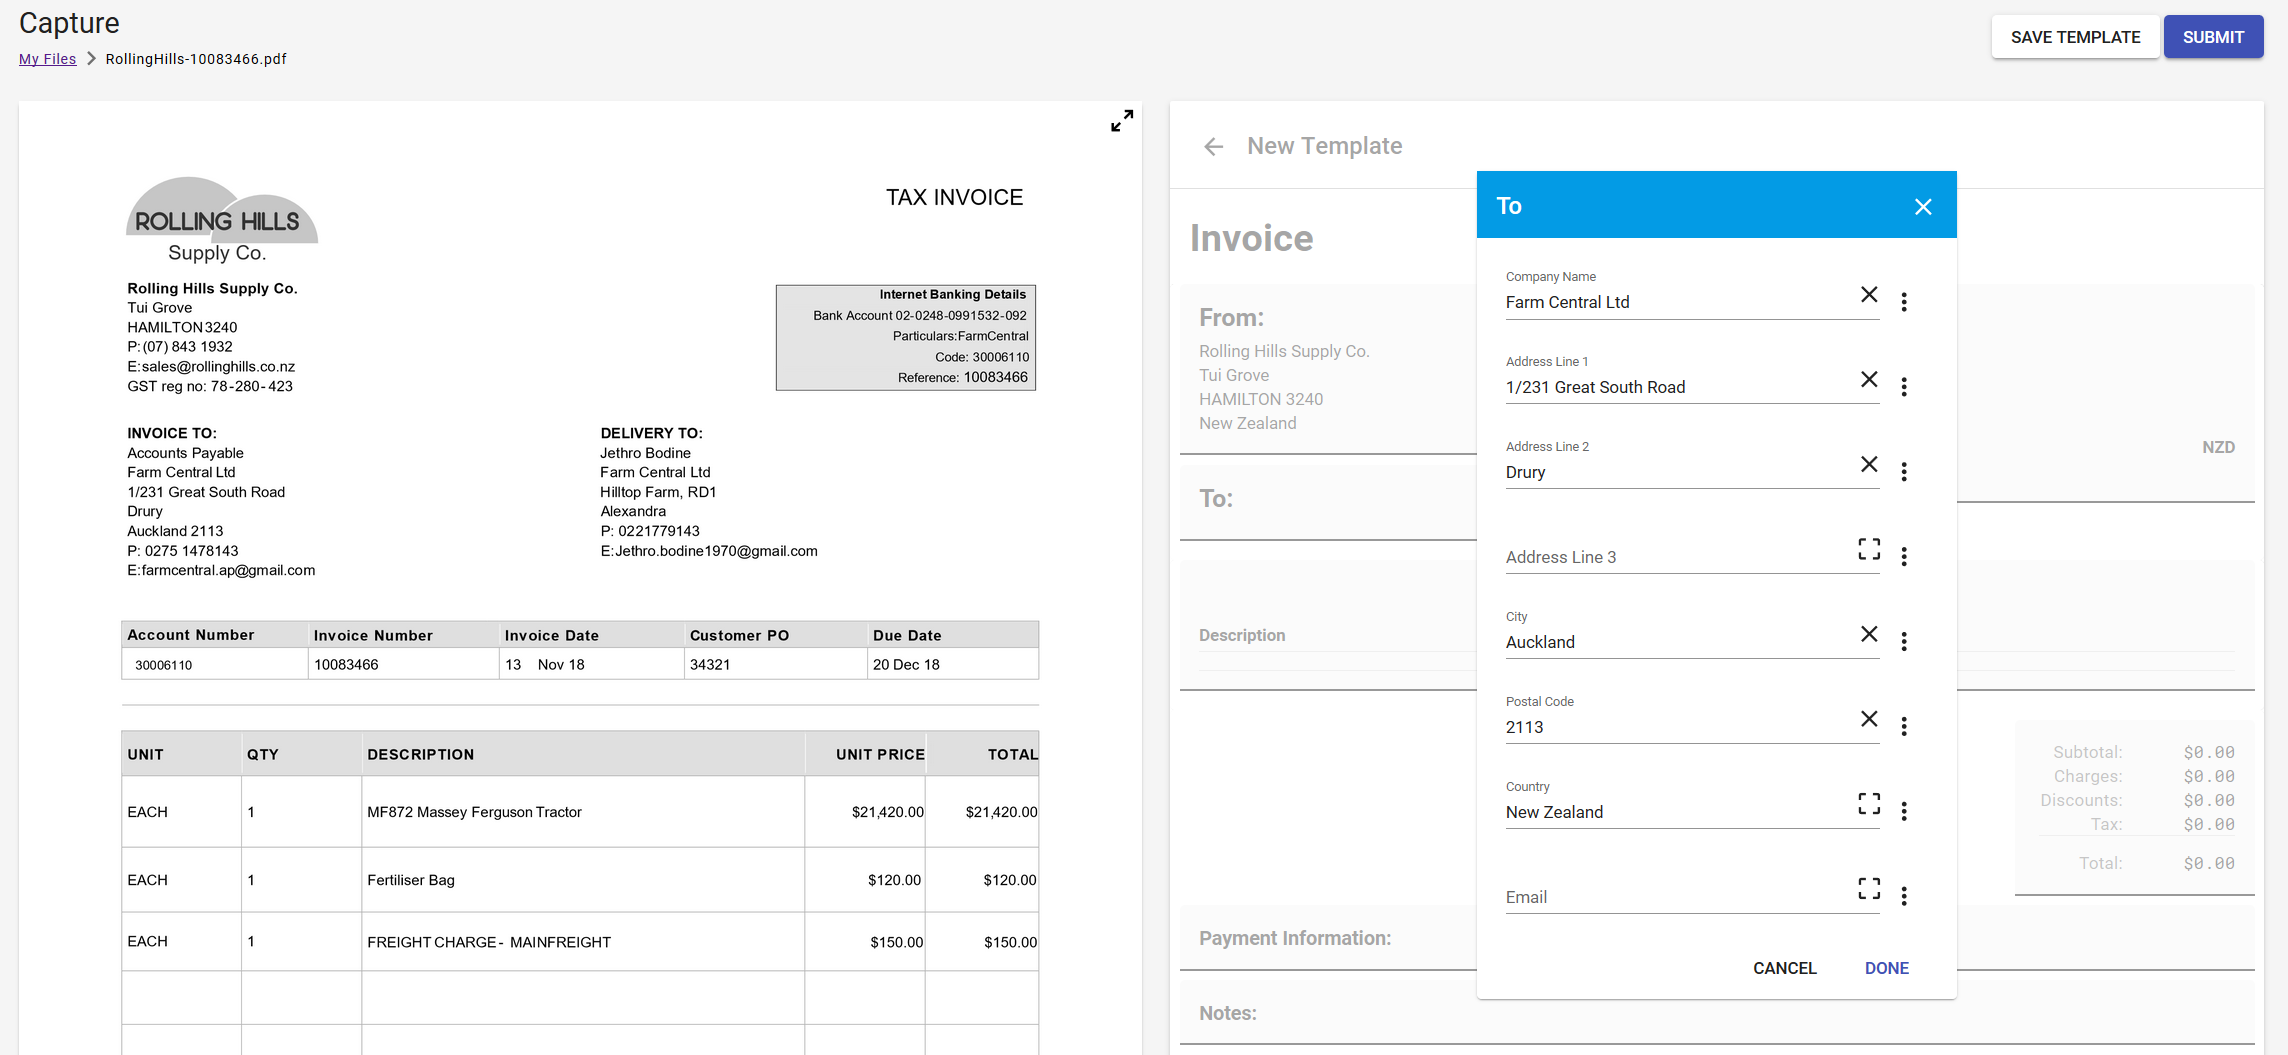
In this example, our company is Farm Central, so select all of the Farm Central Company Invoice To details and populate this Window.
Required Fields:
- Company Name
- Address Line 1
- Address Line 2
- City
- Country
Field Validation: There is no field validation on this window.
Complete the same process with the other boxes; Details, Payment Information and Notes.
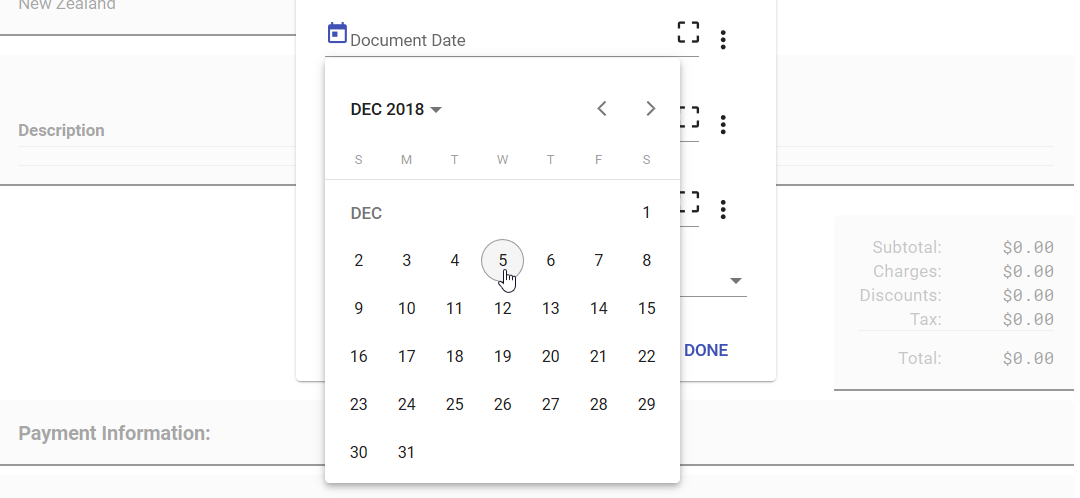
Date Fields: You can select the Document Date and Payment Due Date by clicking on the calendar icon on the left of these fields.
Currency Codes: The currency defaults to NZD. You can select other currencies from the drop-down list. If you are not New Zealand based and require the currency to default to something other than NZD please contact support@olympic.co.nz.
# Map Invoice Lines
In this example we have one invoice line for each product.
You can map the lines from the document by clicking into the Description field.
You need to select the lines from the document on the left so you can capture the document line data.
Select the Draw Table button:

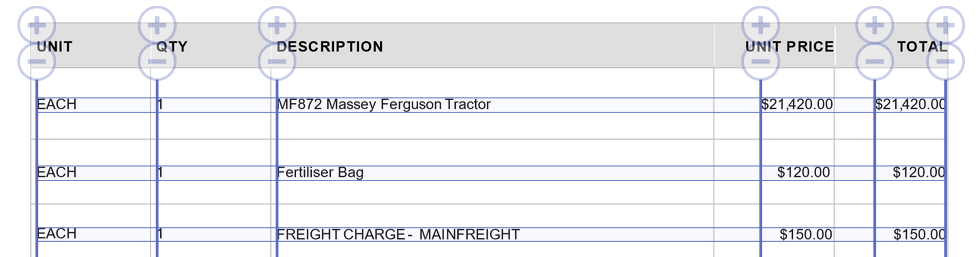
Then click and drag the mouse across the invoice lines on the left side preview. The pane will look similar to this:

This will capture the document line data into a table:
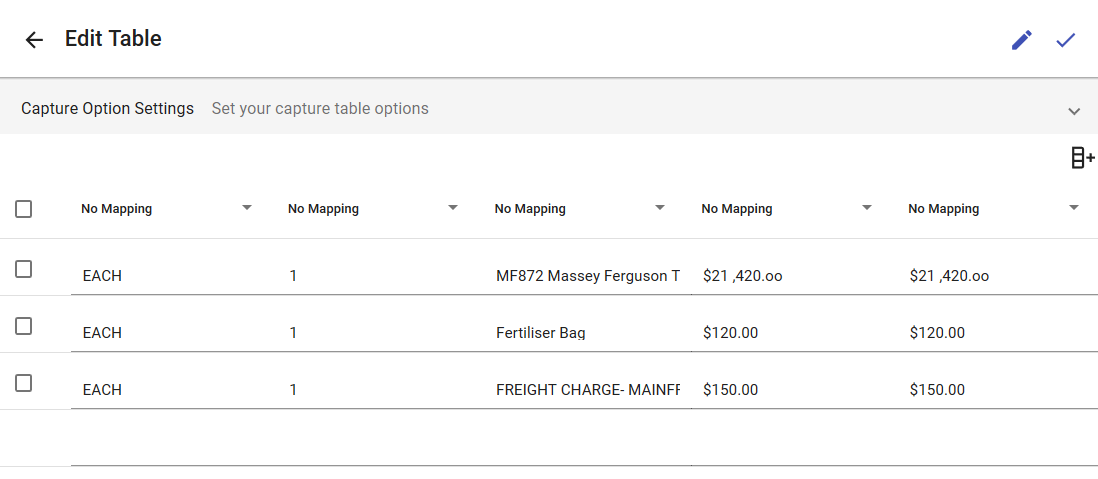
# Column Mapping
Capture indicates the suggested column headings with the plus and minus icons. If these are incorrect, you can change them by adding or removing columns with the plus and minus icons.
Next, you need to indicate where the bottom of the invoice lines are on the document.
In this Invoice example we could indicate that the description, unit price or total indicates a change of invoice line.
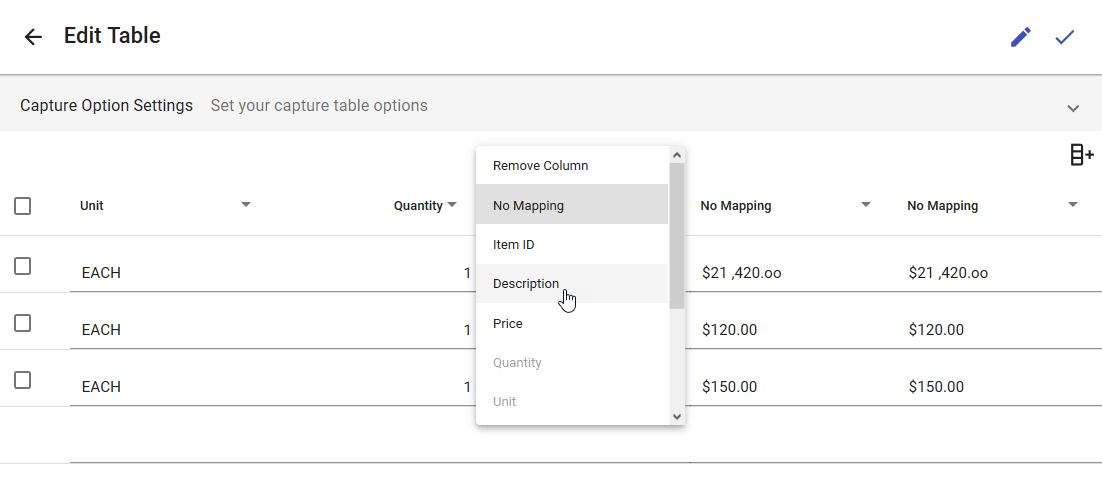
In the right panel, use the dropdowns to change the column headings as appropriate for this document:
# Add a Row
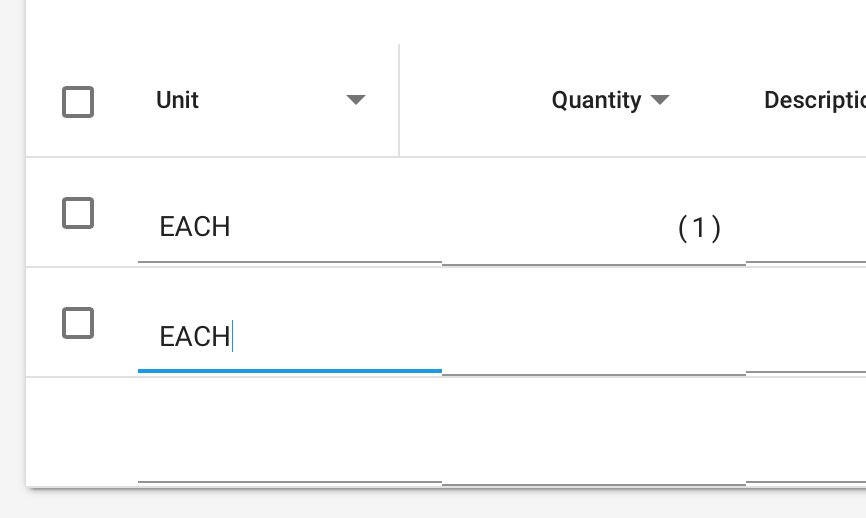
The OCR Reader in Capture detects characters on the uploaded document and converts them to digital data.
If the OCR Reader has not detected a line on the invoice or for another reason you would like to manually enter an invoice line, you can click into the next blank line below existing line, and enter the data. Use the tab key to move to the next column.
# Remove a Row
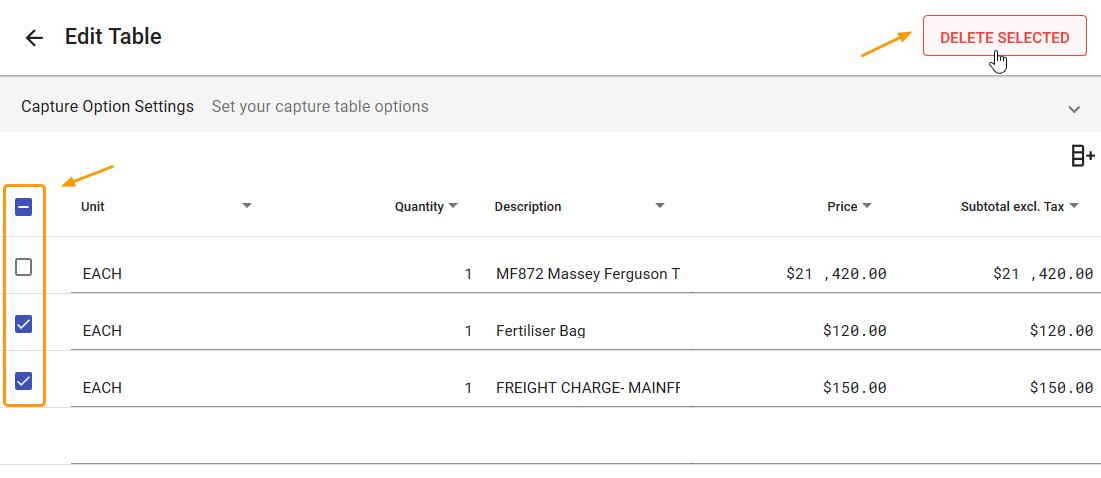
If there are extra document lines that are not required, they can be removed one by one by ticking the box on the left side of the row.
You can tick multiple rows at once and the top tick box will select all lines. Then click Delete Selected.
# Edit a Row
To edit a row (document line), click into the row and you can type the data.
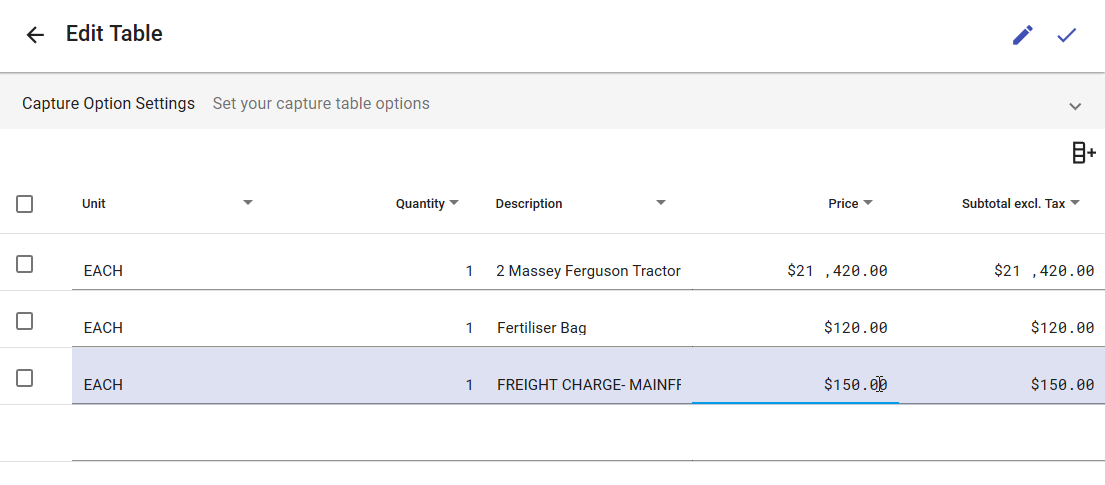
When you’ve finished editing the table, click on the tick on the right side to save all changes.
# Add a Column
If the OCR Reader has not detected a column, or you need to add an extra one in, select the Add Column icon in the top right corner. This will add an empty column. You can assign a header and add data.

# Remove a Column
If you do not need a column, click on the column header dropdown and select Remove Column.

# Map Document Totals
Click into the Totals section of the template.
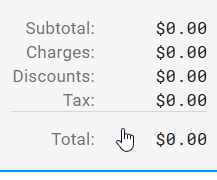
The Totals window will be displayed:
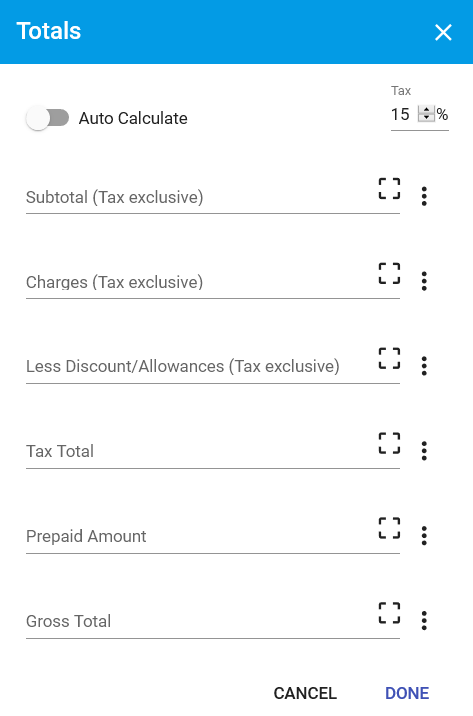
You can manually enter any missing information you would like to capture and map by either relative position on the page, map by coordinates, or map by values.
Follow the instructions above on Mapping Templates, to select data on the left to populate the template on the right.
If a document has no tax, e.g. a council rates invoice, you can turn on the Auto Calculate button on and enter a tax percentage (the default is 15%). Capture will calculate and display the Subtotal and Tax Total.
All amounts are positive figures, even the discount/charges. You may get an error message saying the amount is incorrect if you enter a negative amount. There is no validation of these amounts, so they do not need to balance to the gross total.
TIP
Approvals uses the NET – Subtotal (tax exclusive) amount to balance to, this is used to allocate distributions, so this is the most important field to capture/manually enter correctly.
When you are finished click Done or Cancel to exit out of the window.
# Mapping Multiple Lines
Sometimes documents have multiple lines of data for 1 product, often in the description column. For example, this Computer Co Invoice:
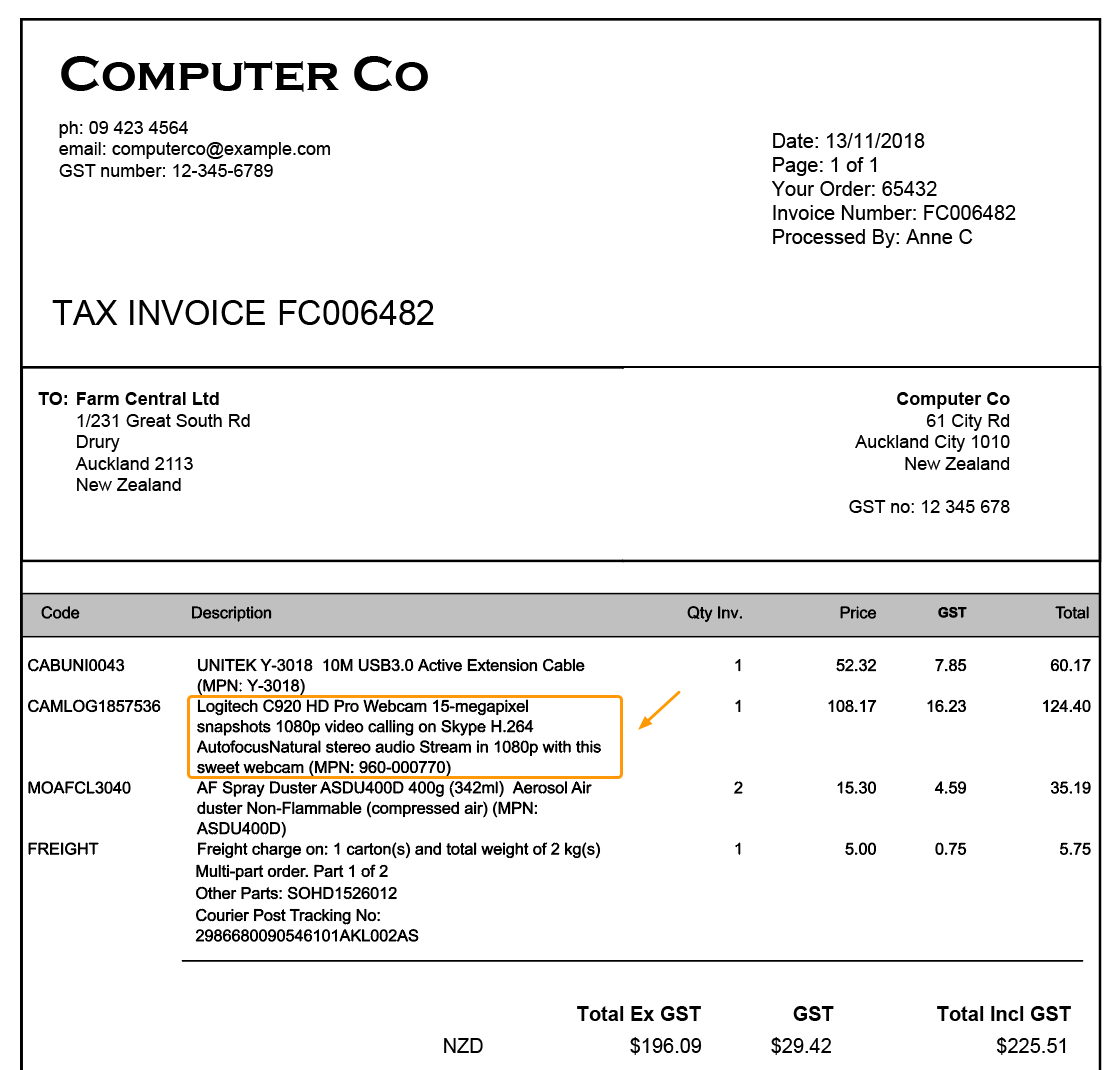
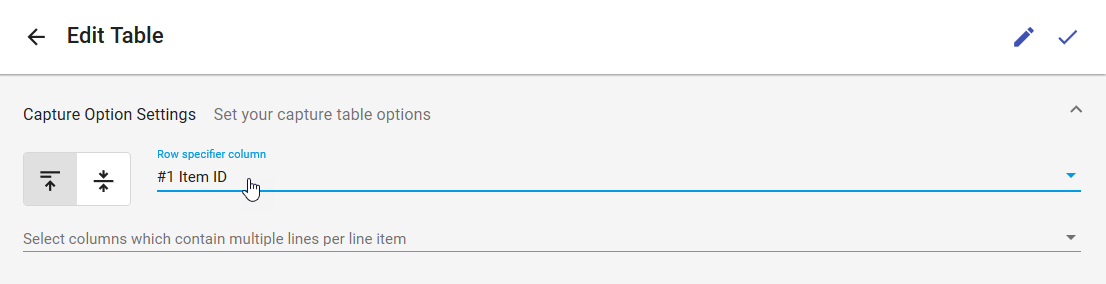
First, click into the description box. Select the Draw Table button and draw a table around the invoice lines. Capture will automatically detect every line of text as a separate item. Select your column headings (for this example, Item ID). Next, click the collapsed menu Capture Option Settings and select which column you want to define the start of a new row.
The document lines are redisplayed correctly.
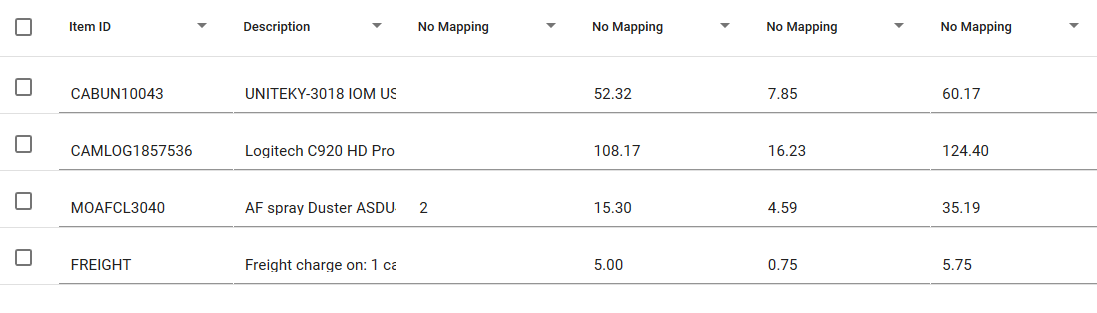
Save the table with the tick icon on the right side.
# Mapping a Multiple Page Document
Capture the document as explained above.
Then draw the table by selecting the rows on the first page.
Adjust and choose the column headings.
A new line starts with column index ‘Quantity’ for example. Experiment with the column headings until you are satisfied that the table chooses all the rows on all the pages of your document correctly. This is how Capture identifies all the document lines on multiple pages i.e. by new line starts with column index function.
# Mapping a Document With No Document Lines
Sometimes a document may have no document lines to Capture.
In this example, the Phone Company Invoice has no Invoice lines:
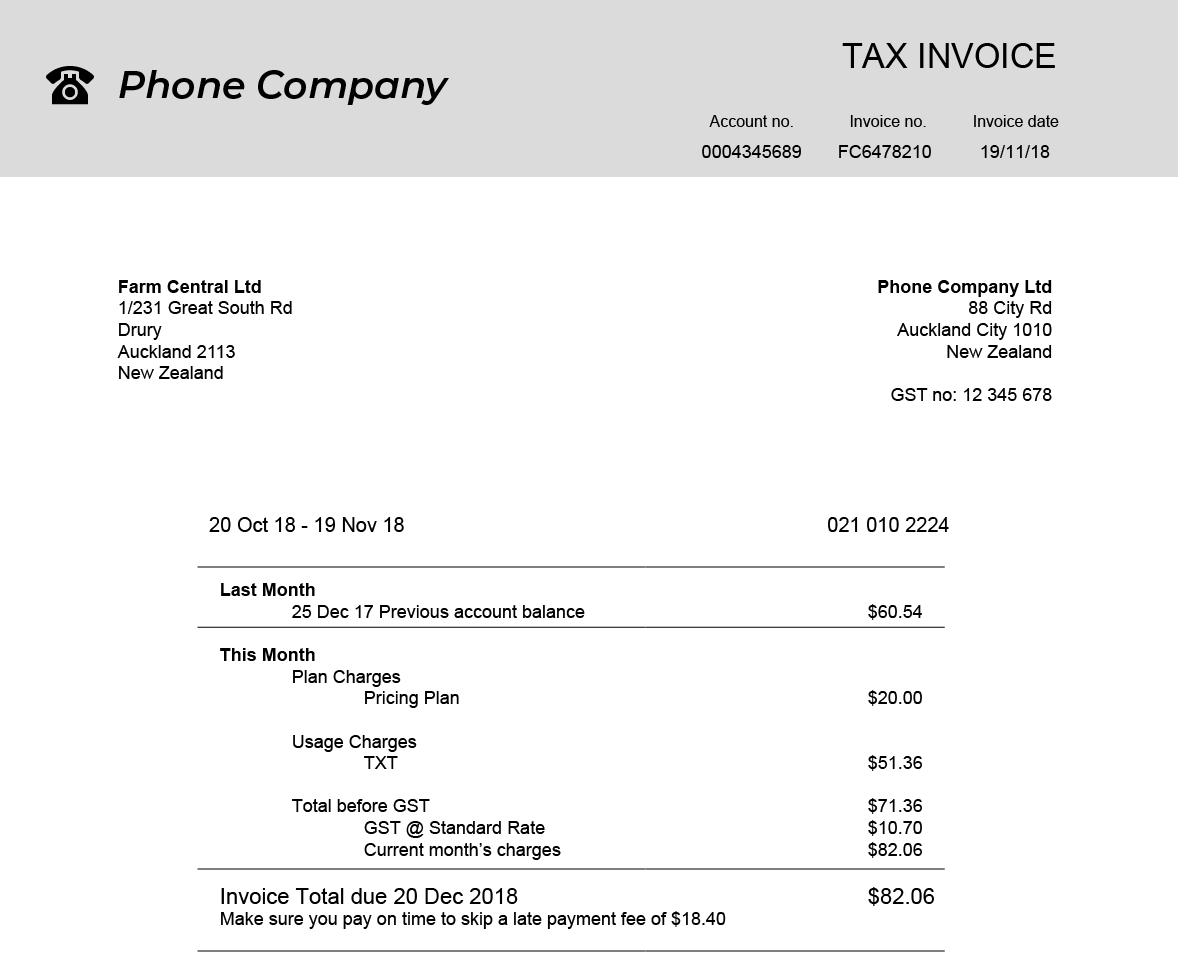
In this case you can capture a line of notes as a Document Line, manually enter a line or Capture the text and subtotal information from the subtotal.
In this example you could Add a new line and type in Current Month’s Charges in the first column with $71.36, then choose column headings Description and Subtotal excl. tax.
# Submit for Approvals
To submit the document for approval, click on the Submit button:
When you click Submit, if an error occurs - a red line will appear under the section that has a problem. In this example there is an error in the Document header section, because it has not been filled out properly.
Fix the errors and click Submit again. When you submit a document, the following window will appear:
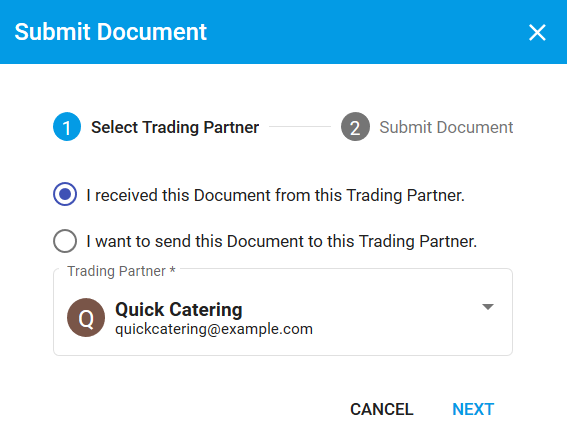
The Trading Partner Email will default from the mapped field From Email (if there was an email mapped). If there was no email to map and the email was entered manually during the template creation, you will need to enter an email here as this is a required field. This is used to track the document through DX2.
You can choose to save the Template as a new one, or save over the existing Template for this invoice. If you want to save it, enter the Template name.
You can also enter Tags which are associated with this document. The Tags are displayed in My Documents and in Approvals. An example of the use of Tags is grouping the Invoices for a specific Cost Centre or Department.
Click Submit to complete, or Cancel to exit out of the window.